technological innovation
Do some deep drawing mold analysis
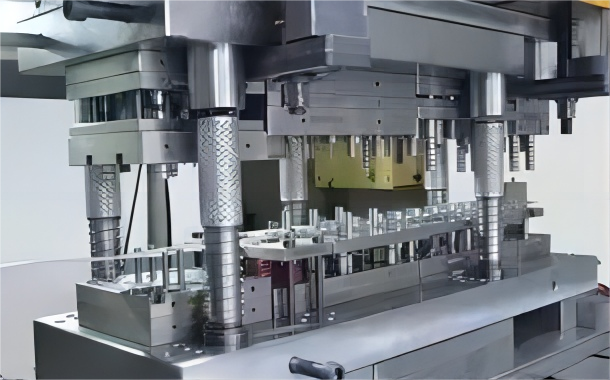
Many people are discouraged by deep drawing molds because they require consideration of numerous factors during the design phase. What's more, it often takes multiple iterations of testing and adjustments to achieve the desired results. Therefore, accumulating experience through practical work is crucial for the design of deep drawing molds.
1. Materials:

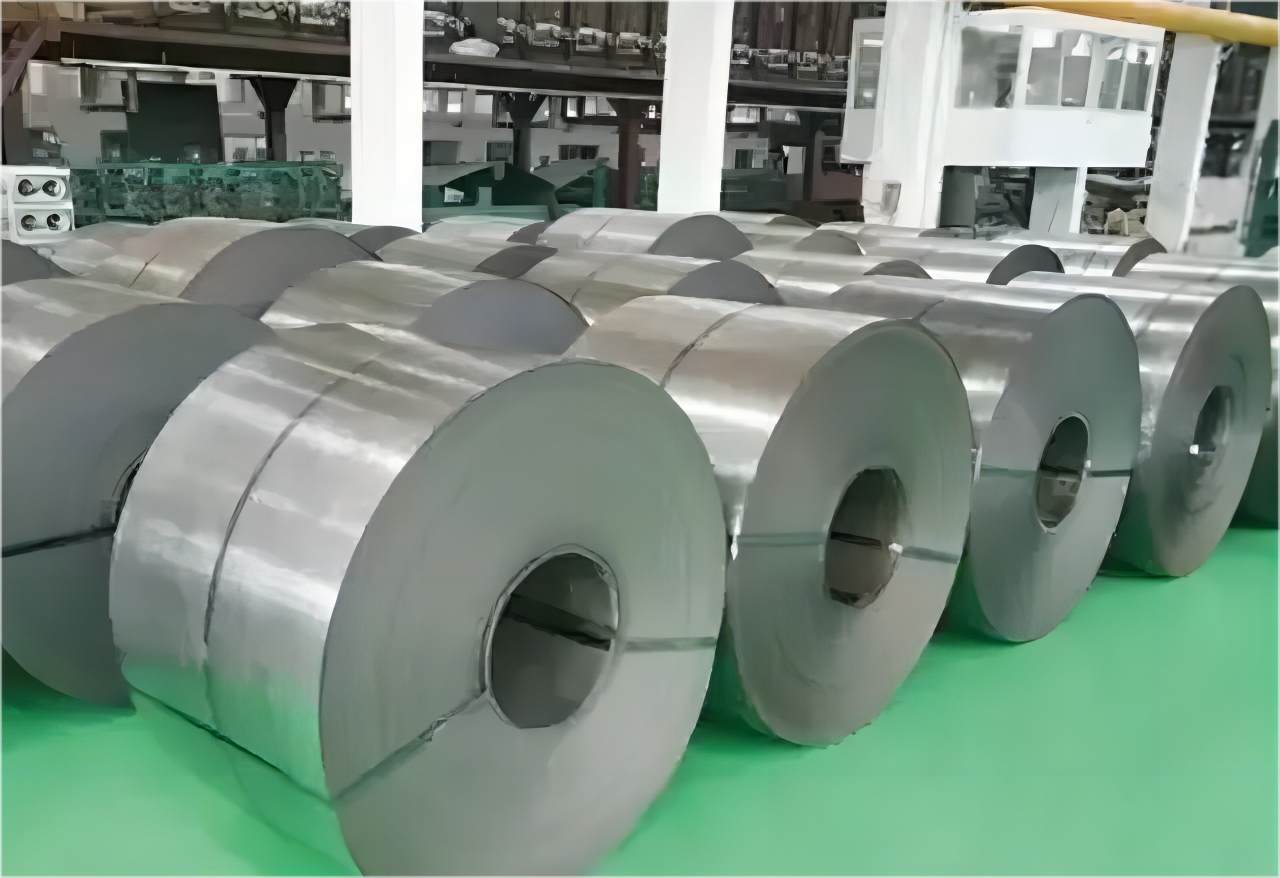
△SPCC-SD deep stamping steel
Good material is half the battle when it comes to deep drawing, and it should not be overlooked. Cold-rolled thin steel sheets are commonly used for deep drawing, including 08Al, 08, 08F, 10, 15, and 20 steel. Among them, the most widely used is 08 steel, which can be divided into boiling steel and calm steel. Boiling steel has a lower price and better surface quality but is prone to segregation and "strain aging," making it unsuitable for parts with high requirements for stamping performance and strict appearance. Calm steel, represented by aluminum calm steel 08Al, has better performance and uniform properties but comes at a higher price. In foreign countries, SPCC-SD deep drawing steel from Japan has been used, which has better tensile properties than 08Al.
Experience 1: When the customer's material requirements are not very strict and repeated attempts to meet the requirements are unsuccessful, it may be worth trying a different material.
2. Determination of blank size:

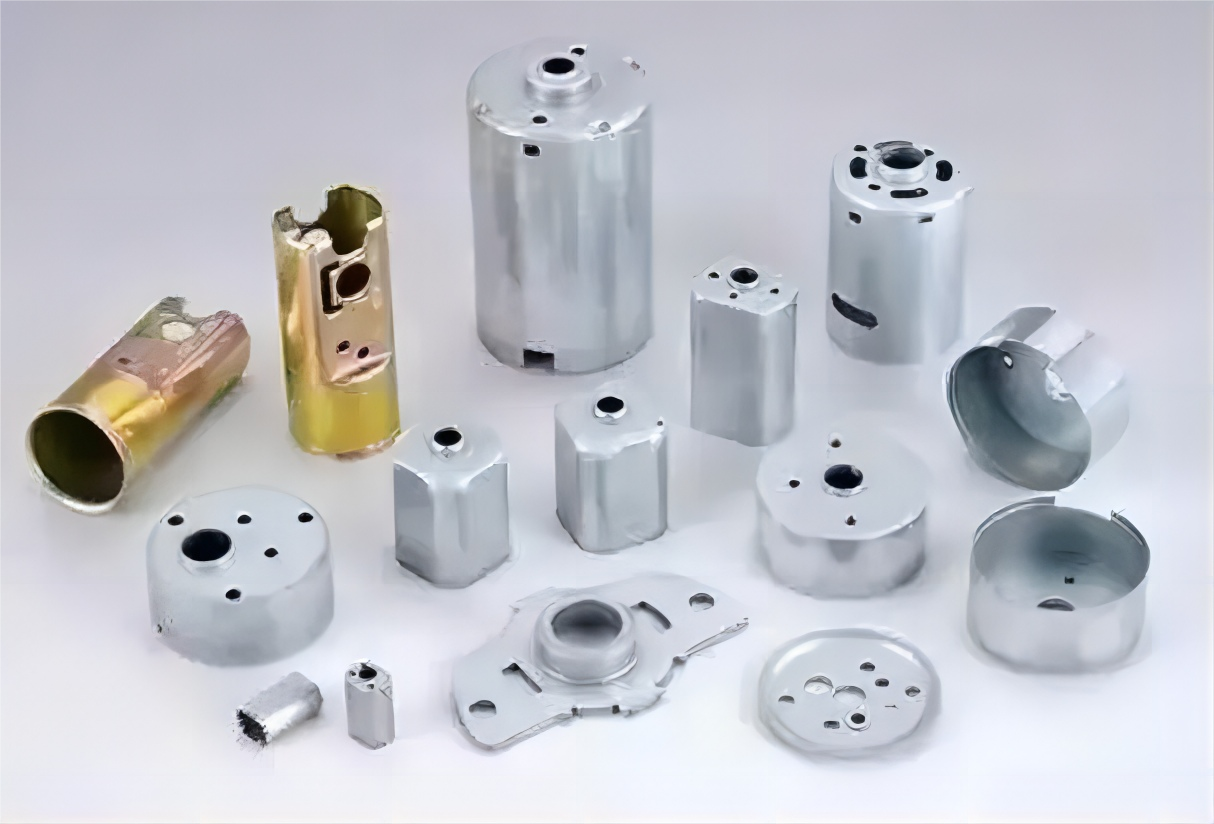
△ Confirmation of blank size
When it comes to simple rotational stretch-formed parts, the blank diameter remains relatively unchanged during the stretching process without thinning. Although the material thickness may vary, it remains close to the original thickness. The calculation can be based on the principle of equal surface areas between the blank and the stretch-formed part (taking into account any required edge trimming allowances). However, in the case of complex shapes and processes involving thinning during stretching, the accuracy of 3D software for flat pattern calculation may not meet the required level of precision.
The solution is to conduct material trials.
A finished part goes through multiple processes, and the initial process is usually the blanking process. It is important to perform flat pattern calculations to gain a general understanding of the shape and size of the blank, which helps determine the overall dimensions of the blanking die. When the mold design is completed, avoid machining the concave and convex mold dimensions for the blanking die. Instead, start by using wire cutting to process the blank (for larger blanks, milling can be used before clamping and finishing). Through repeated experiments during subsequent stretching processes, the final dimensions of the blank are determined. Then, the concave and convex molds of the blanking die can be machined.
Experience 2: Reversing the process sequence by first testing the stretching die and then machining the blank's cutting edge size can save time and effort.
3. Tensile coefficient m.

△ tensile coefficient
The stretching coefficient (m) is one of the key process parameters in the calculation of stretching operations. It is commonly used to determine the sequence and number of stretching steps. The stretching coefficient is influenced by various factors, including material properties, relative thickness of the material, stretching method (with or without a blank holder), number of stretching steps, stretching speed, radii of the die corners, lubrication, and more.
Calculating and selecting the appropriate stretching coefficient (m) is extensively covered in various stamping handbooks. These handbooks provide methods such as deduction, tabulation, and calculation to determine the stretching coefficient. It is important to consult these references for detailed information and guidelines. There is no new or groundbreaking approach; the information can be found in relevant literature and textbooks.
Experience 3: The relative thickness of the material, stretching method (with or without a blank holder), and the number of stretching steps should be carefully considered during die design and adjustment. It is not advisable to make significant adjustments to these factors during the mold modification process. It is highly recommended to consult with colleagues and verify the chosen stretching coefficient (m) to ensure accuracy and reliability. Collaboration and double-checking with colleagues can help minimize errors and ensure the optimal selection of process parameters.
4. Grease the die, or put a film bag on the sheet.
Experience 4: When encountering issues such as tearing during stretching, one can apply lubricating oil on the concave die (avoiding the convex die) and place a plastic film with a thickness of 0.013-0.018mm on the side of the workpiece that contacts the concave die. This lubrication and film application technique helps reduce friction and prevent excessive strain on the material, thereby minimizing the risk of tearing and improving the success rate of the stretching process.
5. Heat treatment of workpiece

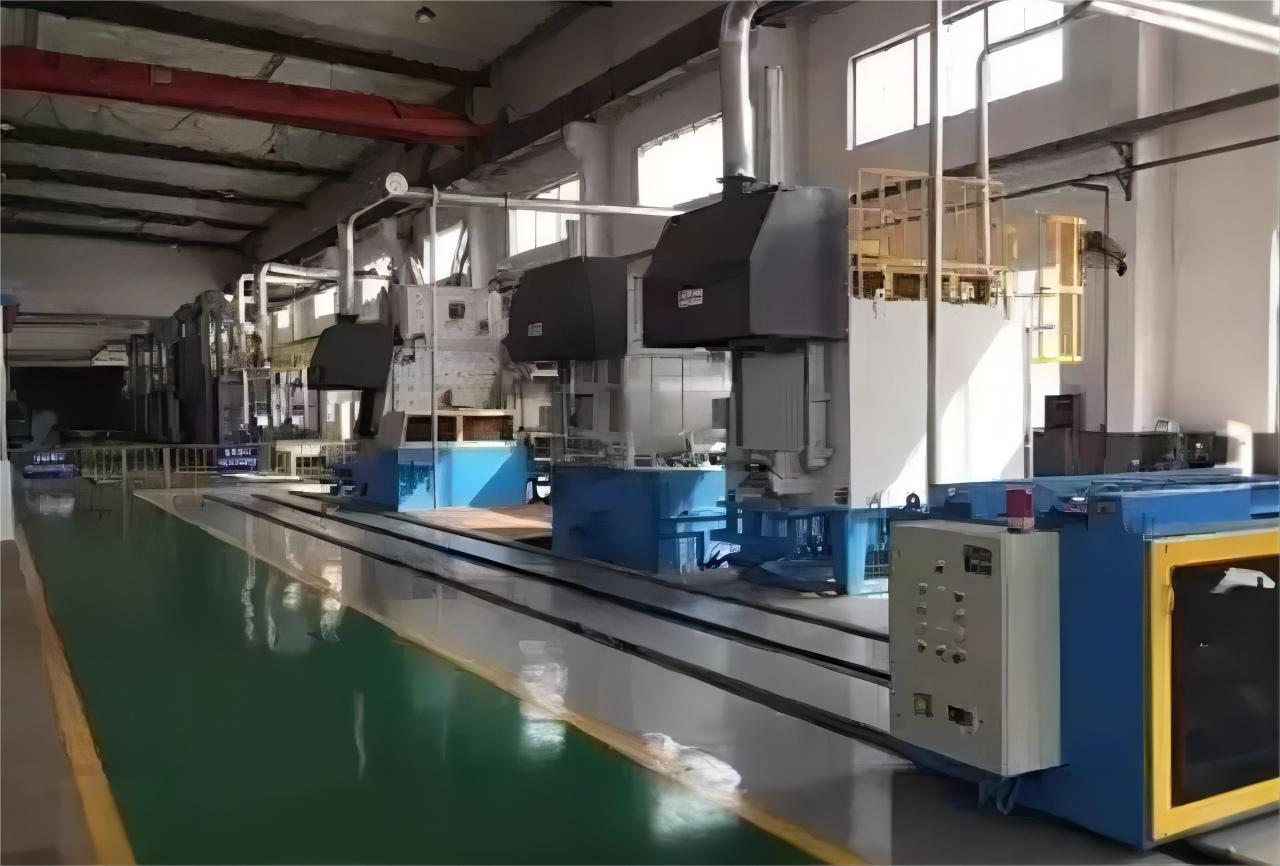
△ Heat treatment workshop
During the stretching process, the workpiece undergoes cold plastic deformation, resulting in strain hardening. This leads to a decrease in ductility, an increase in deformation resistance and hardness. In addition, if the die design is not optimal, intermediate annealing may be required to soften the metal and restore its ductility.
Note: Intermediate annealing is not necessary in general processes as it increases costs. It is important to carefully consider the choice between adding an extra process step or performing annealing. Annealing is typically conducted at low temperatures, known as recrystallization annealing. During annealing, two factors to consider are decarburization and oxidation. Here, we will focus on oxidation. Oxidation results in the formation of oxide scale on the workpiece, which has two drawbacks: it reduces the effective thickness of the workpiece and increases die wear. If the company's facilities do not allow for alternative methods, ordinary annealing can be used. To minimize the formation of oxide scale, it is recommended to load the furnace as fully as possible during annealing. Here are a few methods to consider:
1.When there are fewer workpieces, they can be mixed with other workpieces (provided that the annealing process parameters are relatively consistent).
The workpieces can be placed in an iron box and sealed before loading into the furnace. 2.To remove oxide scale, acid pickling may be performed after annealing, depending on the specific circumstances. If the company's facilities allow, bright annealing, also known as nitrogen annealing, can be utilized. In this process, the workpieces are annealed in a nitrogen atmosphere, resulting in a similar appearance to the original material color.
Experience5: When dealing with metals that exhibit strong strain hardening or when encountering tearing during the trial process without any other viable solutions, adding an intermediate annealing step can be considered.
6. A few additional points:
On product drawings, dimensions should be labeled on one side as much as possible to clearly indicate whether they refer to external dimensions or internal cavity dimensions. It is not advisable to label both internal and external dimensions simultaneously. If drawings provided by others have such issues, it is important to communicate with them and, if possible, reach a consensus. If unification is not possible, it is necessary to understand the assembly relationship of the component with other parts.
For the final operation, when the dimension of the workpiece is on the outside, the main focus should be on the concave die, and the clearance should be achieved by reducing the dimension of the convex die. When the dimension of the workpiece is on the inside, the main focus should be on the convex die, and the clearance should be achieved by increasing the dimension of the concave die.
When designing, it is advisable to use small allowable values for the radius of curvature of the convex and concave dies, which facilitates subsequent mold modification.
When determining the cause of workpiece tearing, irregular or jagged cracks are often indicative of poor material quality, while more regular cracks are typically related to process or mold issues.
"Wrinkles if too much, cracks if too little." Adjusting the flow of the material can be done by adjusting the pressure of the edge ring, adding draw ribs, modifying the radius of curvature of the convex and concave dies, or employing cutting techniques on the workpiece.
To ensure wear resistance and prevent stretching marks, the convex and concave dies must be quenched, and if necessary, hard chrome plating can be applied.
RELATED NEWS
- Not sure about the T4, T5, and T6 materials of aluminum profiles? This article h 2024-03-20
- How to use aluminum profile section design skills to solve extrusion production 2024-03-19
- Factors affecting the life of trimming and punching molds 2024-03-12
- Overview of Steel/Aluminum Welding Technology 2024-02-29
- Steel belt conveying direction 2023-09-26
CATEGORIES
LATEST NEWS
CONTACT US
Contact: Manager:Miss Jasmien
Phone: +8618825429836
E-mail: info@gdaa-cn.com
Whatsapp:+8618825429836
Add: Headquarter:No.8,Yixian Road,GDAA Mansion,Guangfo Zhicheng, Dali Town,Foshan,Guangdong.China
