News
5 methods and solutions to quickly judge the surface quality defects of aluminum profiles.

Due to the special nature of the production process for hot extruded aluminum profiles, surface defects can occur as a result of mold polishing quality or process conditions during the extrusion process. The following are some common surface defects found in hot extruded aluminum profiles: rough grain, color variations, dark streaks, bright streaks, scratch lines, ridges (concave ridges, convex ridges), and poor smoothness.
The formation causes of surface rough defects in extruded aluminum profiles are often visually apparent, such as bending, twisting, deformation, and inclusion of slag during the extrusion production of aluminum profiles.
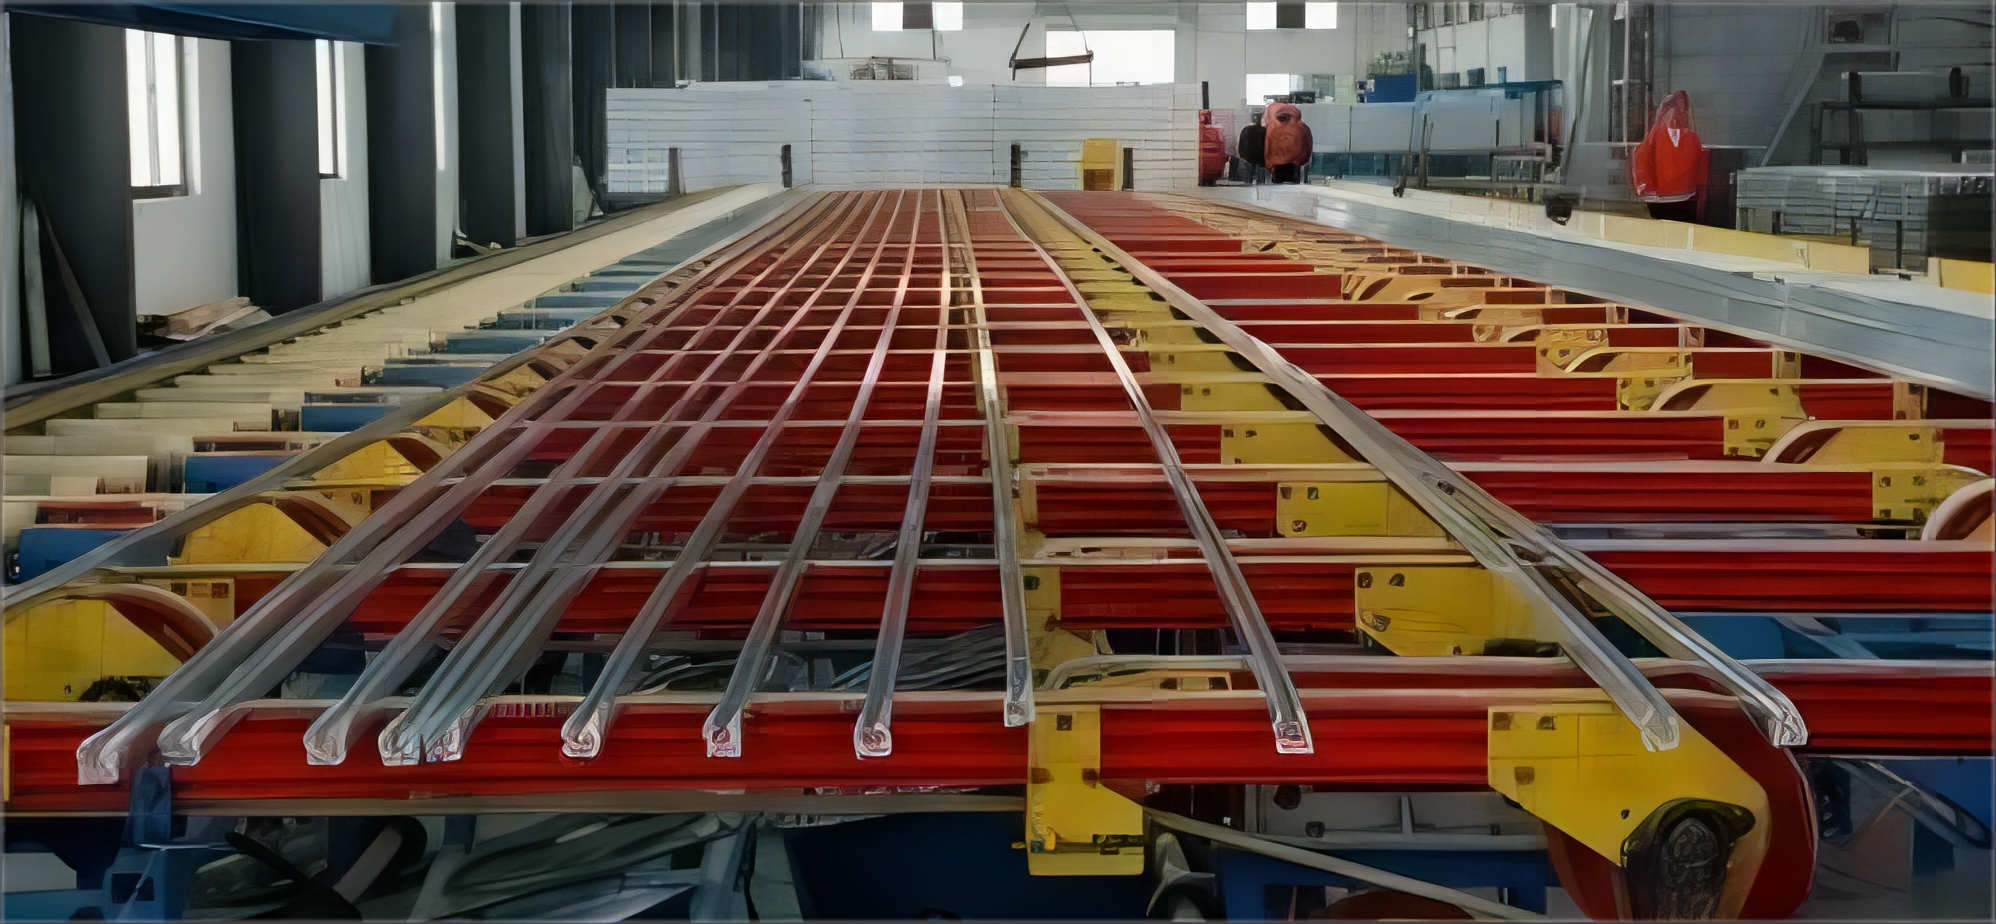
The aluminum profiles that come out of the extrusion production line are referred to as base material or billet.
The initial assessment of surface quality is generally done after the profiles have been extruded on the mold for 2-3 billets. A preliminary evaluation of surface quality is performed through sampling to determine if it meets the requirements. Once the surface is deemed acceptable, other quality inspections are carried out for different criteria.
5 methods to quickly judge the surface quality defects of aluminum profiles billet
①Touch Sensation: Use your hand to touch the surface of the base material or run your fingernail over it to detect any pronounced irregularities like concave or convex bones, or noticeable lines. This method is suitable for various surface treatments.
②Pencil Scratching: During the aluminum profile extrusion process, use a pencil to scratch the surface and judge the presence of rough patterns, lines, or grooves based on the continuity of the scratches. This method is suitable for assessing the surface of anodized materials.
③Paint Spraying Test: During the initial inspection, apply automatic paint spraying on the base material's surface to simulate the actual spraying effect. After allowing the surface to dry for 1-2 minutes, observe and assess if there are any scratches, concave bones, or convex bones. This method is suitable for evaluating the surface of sprayed coatings.
④Alkali Washing Test: During the initial inspection, immerse a 300mm sample section from the third extruded bar into an alkali solution tank for 30-40 seconds (note: adjust the immersion time accordingly if the alkali concentration or tank temperature is too low, generally not exceeding 60 seconds). After alkali washing, check for any discoloration, scratches, or mold joint lines on the base material's surface. This method is applicable for high surface requirements in anodized materials.
In addition to the four common methods mentioned above, there is another method for reference:
⑤Surface Polishing: During the initial inspection, use an industrial white cloth to horizontally polish a 300mm sample section of the base material. After polishing, it becomes easier to observe more subtle defects like fine lines (not easily detectable by fingernails), concave bones, and convex bones. This method is suitable for assessing surface defects that may not be easily identified using the first four methods. It is applicable for judging the surface of coatings, anodized materials, and fluorocarbon materials.
The first step is to rapidly judge whether the surface quality of the aluminum profiles is acceptable. Even if the first piece passes the inspection, abnormalities may still occur during the extrusion process. Therefore, in actual production, it is necessary to consider the different degrees of base material defects and the type of surface treatment. Additionally, the quality requirements of orders and customers should be taken into account. Based on the requirements specified in the work instructions, a reasonable inspection frequency and appropriate methods should be selected for accurate and timely judgment, ensuring no false negatives or false positives.

Main causes of surface damage of aluminum profiles
①The surface of the ingot is contaminated with impurities or exhibits segregation of ingot components. When there are a large number of segregation precipitates on the ingot surface and the ingot has not undergone uniformization treatment or the uniformization effect is poor, there may be hard metal particles within the ingot. During the extrusion process, these segregation precipitates or hard metal particles can adhere to the surface of the working belt or cause damage to the working belt, ultimately resulting in scratches on the profile surface.
②Foreign objects are present in the mold cavity or on the working belt, and the hardness of the mold working belt is relatively low, causing the working belt surface to be injured and scratch the profile during extrusion.
③There are exposed metals or hard inclusions in the graphite bars on the discharge track or swinging bed. When they come into contact with the profile, they cause scratches on the profile surface.
④When the billet is transferred from the discharge track to the swinging bed by the fork rod, the excessive speed can cause the profile to collide and get damaged.
⑤Manual dragging of the profile on the swinging bed can cause abrasion.
⑥Damage can occur due to friction or compression between profiles during transportation.
Solution
①Strengthen control over the quality of the ingots.
②Improve mold maintenance and periodically carry out nitriding of the molds, strictly following the nitriding process.
③Use soft felt to isolate the profiles from auxiliary tools, minimizing contact and potential damage between the profiles and auxiliary tools.
④Handle profiles with care during production, avoiding arbitrary dragging or flipping of the profiles.
⑤Properly arrange the profiles in the material container, minimizing friction and contact between profiles.
RELATED NEWS
- O+ Tower Project Showcases Our Production Prowess 2025-02-20
- Guangdong Aluminum Association and Moscow University Business School visited Gua 2024-12-12
- Guangdong Aluminium Association International Trade Co., Ltd. signed an overseas 2024-11-21
- Guangdong Aluminum Association International Trade Co., Ltd. Participates in the 2024-11-15
- Simplified Approach to Spandrel Area Treatment in Curtain Wall Glazing 2024-10-25
CATEGORIES
LATEST NEWS
CONTACT US
Contact: Manager:Miss Jasmien
Phone: +8618825429836
E-mail: info@gdaa-cn.com
Whatsapp:+8618825429836
Add: Headquarter:No.8,Yixian Road,GDAA Mansion,Guangfo Zhicheng, Dali Town,Foshan,Guangdong.China
